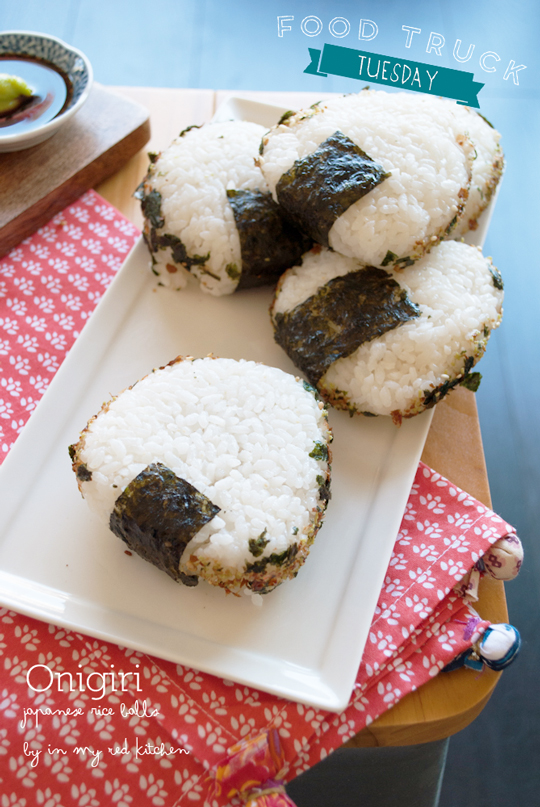
 – Click here for this recipe in Dutch -> Onigiri, Japanse rijstballen –
Today is a very special “Food Truck Friday” because I have to admit that the inspiration for this recipe didn’t came from a food truck. But when you think about Food Trucks you also think about street food, right? And a night market is also all about street food! Because a while ago, I discovered something new (to me) in LA: the Night Market!
A Night Market is an Asian market with food stalls, music performances and some vendors selling goodies. But those last two didn’t gain my attention, because all I needed was the food! These markets are occasionally organized and are open from 4pm to midnight. I have been to the night market in ‘Koreatown’ and last week it was the DTLA night market’s turn. And yes, DTLA stands for Downtown LA.
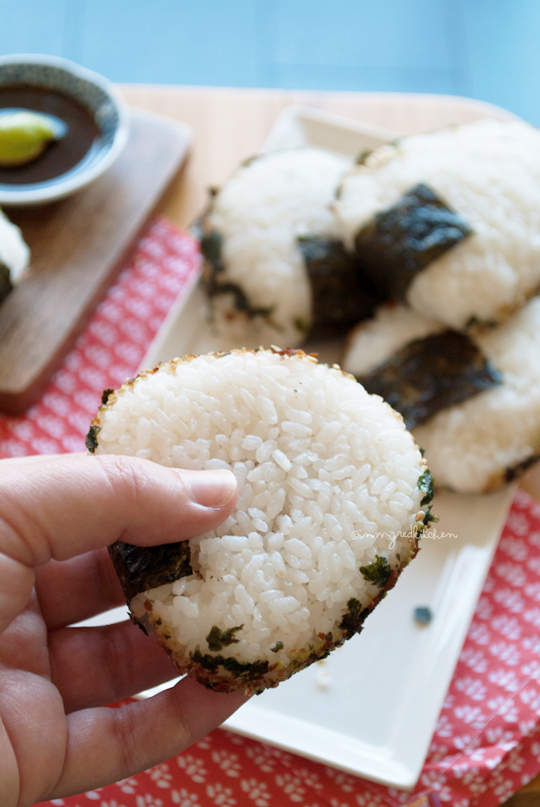
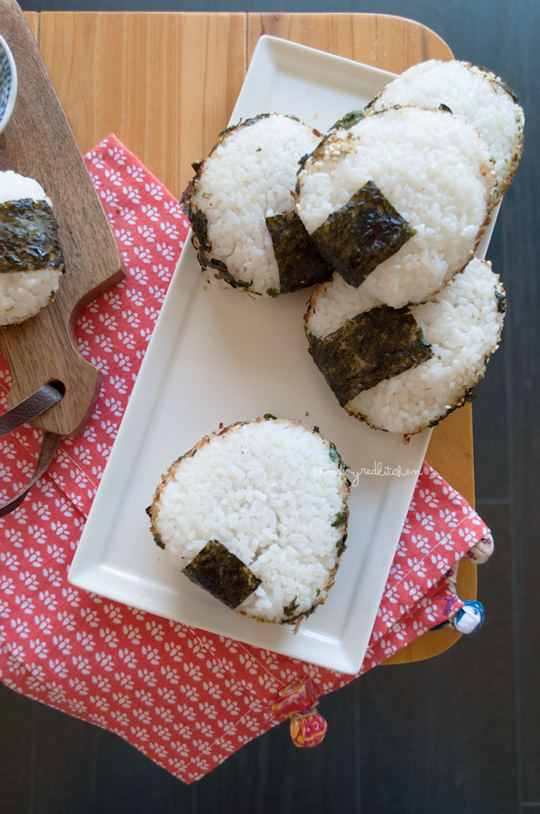
There are also some food trucks but the market mainly consists of stalls of restaurants. At both markets I’ve been enjoying ‘snow shaved’ ice from Snow LA, my new favorite since the Snobar is closed! But before I devoured my dessert it was Mama Musubi’s turn. Mama Musubi is a catering company that serves delicious Japanese rice balls, also called omusubi. But Onigiri is the most common name for these stuffed rice balls.
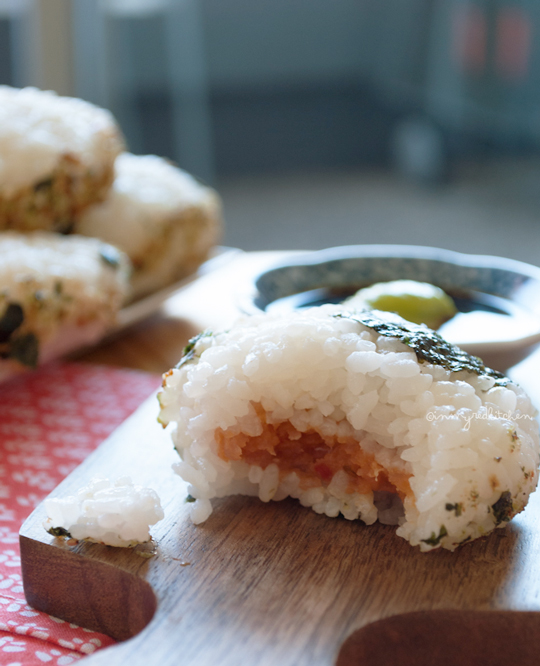
They are made of sushi rice and unlike the “yaki onigiri” I made before, they are filled. Filled with meat, fish or whatever you can think of. Ever since the first time I tried Mama Musubi’s onigiri I knew it, I wanted to make this at home! So that’s why I’m serving you onigiri’s on Food Truck Tuesday, you don’t mind right? 😉
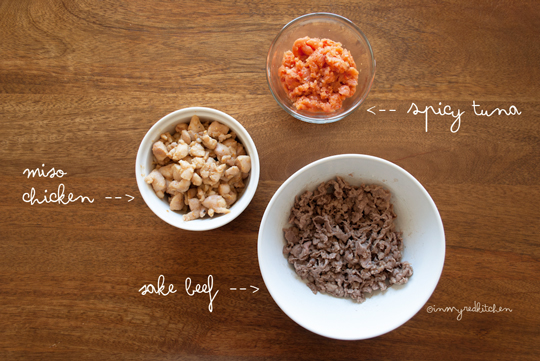
Mama Musubi sells about 6 or 7 different versions and I’ve already tried a few. The onigiri with 24 hour pork belly was very good, but the miso chicken and spicy tuna tasted good too. The possibilities are endless for the filling and that makes me always very creative, so I’ll give you three different versions below. But feel free to make your own variations; how about grilled eggplant or scrambled eggs with soy sauce? But make sure that the filling is not too soggy, because then the rice falls apart.
The very best thing about this onigiri is that you can play with your food, I love that! You can make them with a small bowl and plastic wrap but personally I found it easier to make them with wet hands.
And… now you finally know what this icon in the emoticons list on your phone represents:
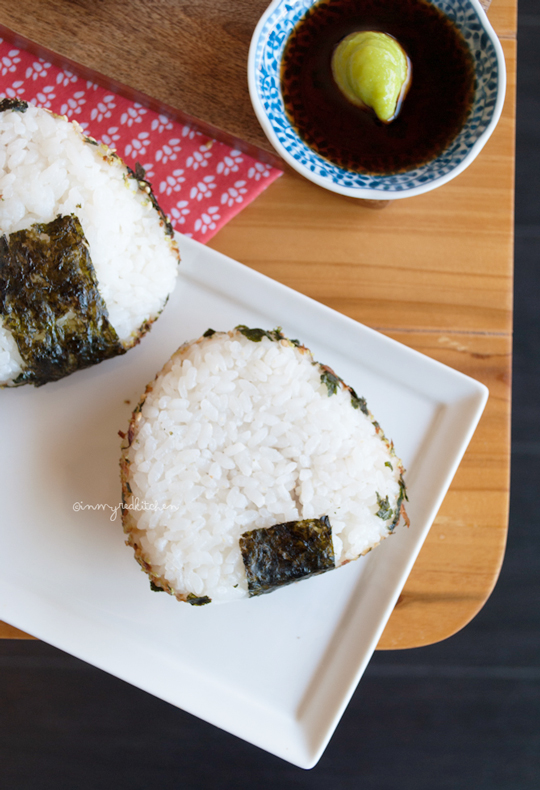
Japanese sushi rice balls filled with delicious meat or fish, yum! It's a perfect packed lunch!
Ingredients
- 2 cups sushi rice
- 3 cups water
- 6 oz beef, thinly sliced (Japanese store) or ground
- 2 Tbsp sake
- 1 tsp ginger powder
- 1 tsp salt
- 6 oz boneless and skinless chicken tighs
- 2 Tbsp miso paste
- 1 tsp (Japanese) chili pepper
- 3.5 oz tuna
- 1 Tbsp (kewpie) mayonnaise
- 2 tsp sriracha sauce or sambal
- optional:
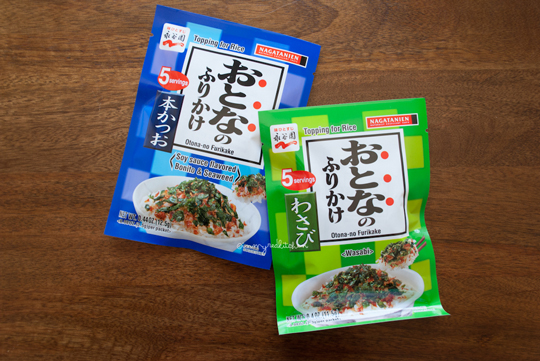
- Furikake (rice seasoning) for garnish
- 1 large nori sheet, cut in 10 strips
Instructions
- Wash the rice under running water until the water runs clear. Cook the rice according to the instructions on the box and let it cool slightly once cooked.
- For the sake beef: I used thinly sliced beef from the Japanese supermarket and I cut that in thin strips. You can also use ground beef. Marinate the beef in the sake, ginger powder and salt. Set aside for as long the rice is cooking. As soon as the rice is cooling off, fry the beef in a skillet over medium high heat for about 1-2 minutes until done, without using oil or butter.
- For the miso chicken: cut the chicken thighs in thin strips and then in small cubes, you’ll want to end up with pieces not bigger than 0.4 inches. Marinate the chicken in the miso paste and chili pepper. Set aside for as long the rice is cooking. As soon as the rice is cooling off, fry the chicken in a skillet over medium high heat, for about 2 minutes until done, without using oil or butter.
- For the spicy tuna: Finely chop the raw tuna, like really really fine. Add the mayonnaise and the sriracha and stir until combined. Set aside.
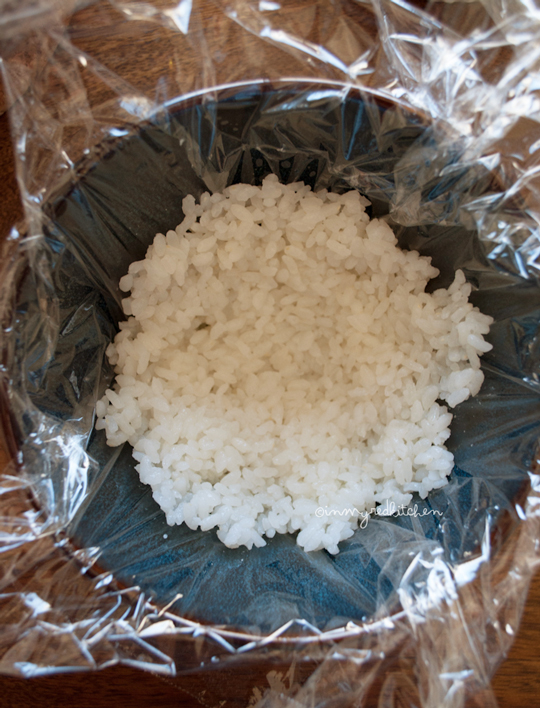
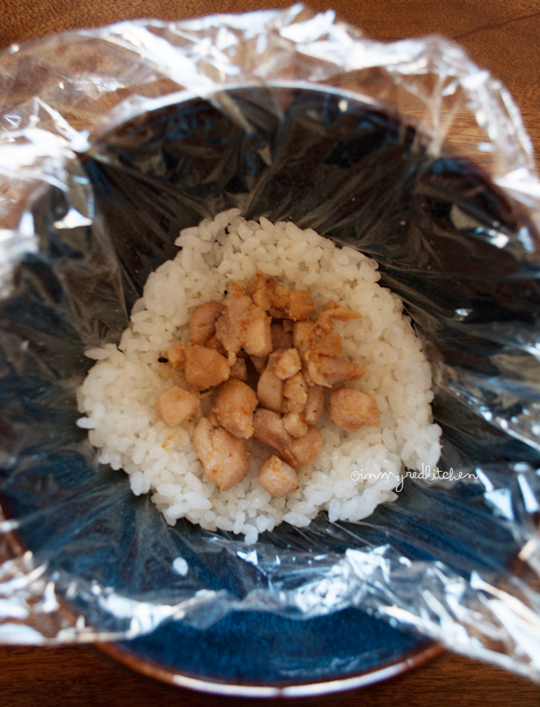
- As soon as the rice is cooled off enough so you can handle it you place a layer of rice in a bowl covered with plastic wrap:
- Place 1 tablespoon of the filling of your choice in the middle.
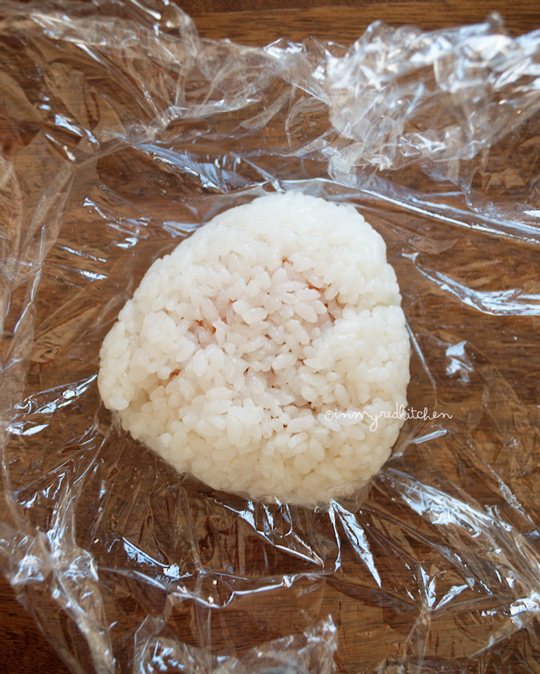
- Wrap the plastic to the center so that the rice covers the filling. Twist & squeeze until a thight rice ball forms. You can leave it as a ball or squeeze it a little more for a triangle:
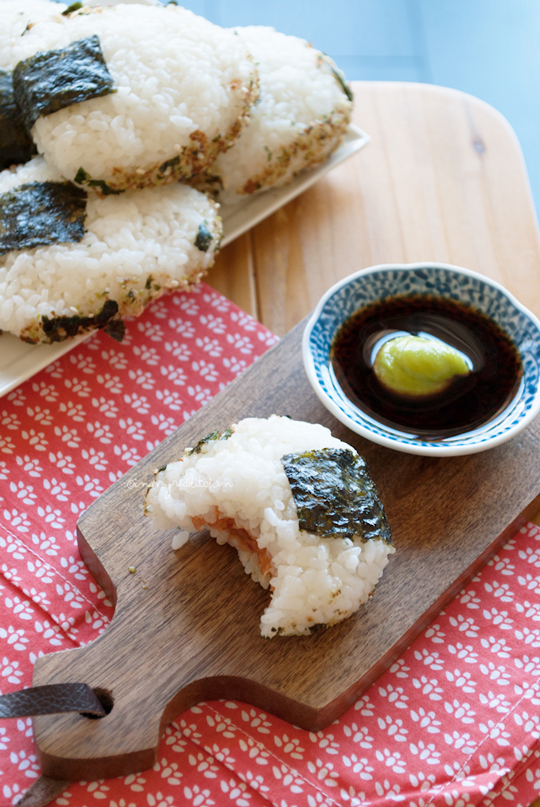
- Roll the onigiri in furikake (if using) and use the nori strips as a wrap.
Notes
Do you want to keep the onigiri a little longer or bring with you as lunch? Wrap them individually in plastic wrap and store the nori separately. Wrap it around the onigiri just before eating.
For 10 onigiri you'll only need 1 one the fillings described above.
Enjoy!
Every first Tuesday of the month it’s Food Truck Tuesday at in my Red Kitchen! Curious about the other Food Truck Tuesday recipes? Click here!

they look delicious!
[…] Click here for this recipe in English -> Onigiri, Japanese rice balls […]
[…] was inspired by of course, Pinterest, and found a plethora of tutorials there. Here’s one with some great visual instructions. For the onigiri I made, I simply used leftover barbeque pork we had on hand. It was a hit with the […]
What suggestions do you have for a vegan version of this? Looks like a fun food
Try (pickled) shiitakes!
Any other suggestions of what to fill them with? What about kani salad ingredients or avocado and crab?
1bradley